Personalize Your Tesla: A Step-by-Step Guide to Custom Cybertruck Wraps
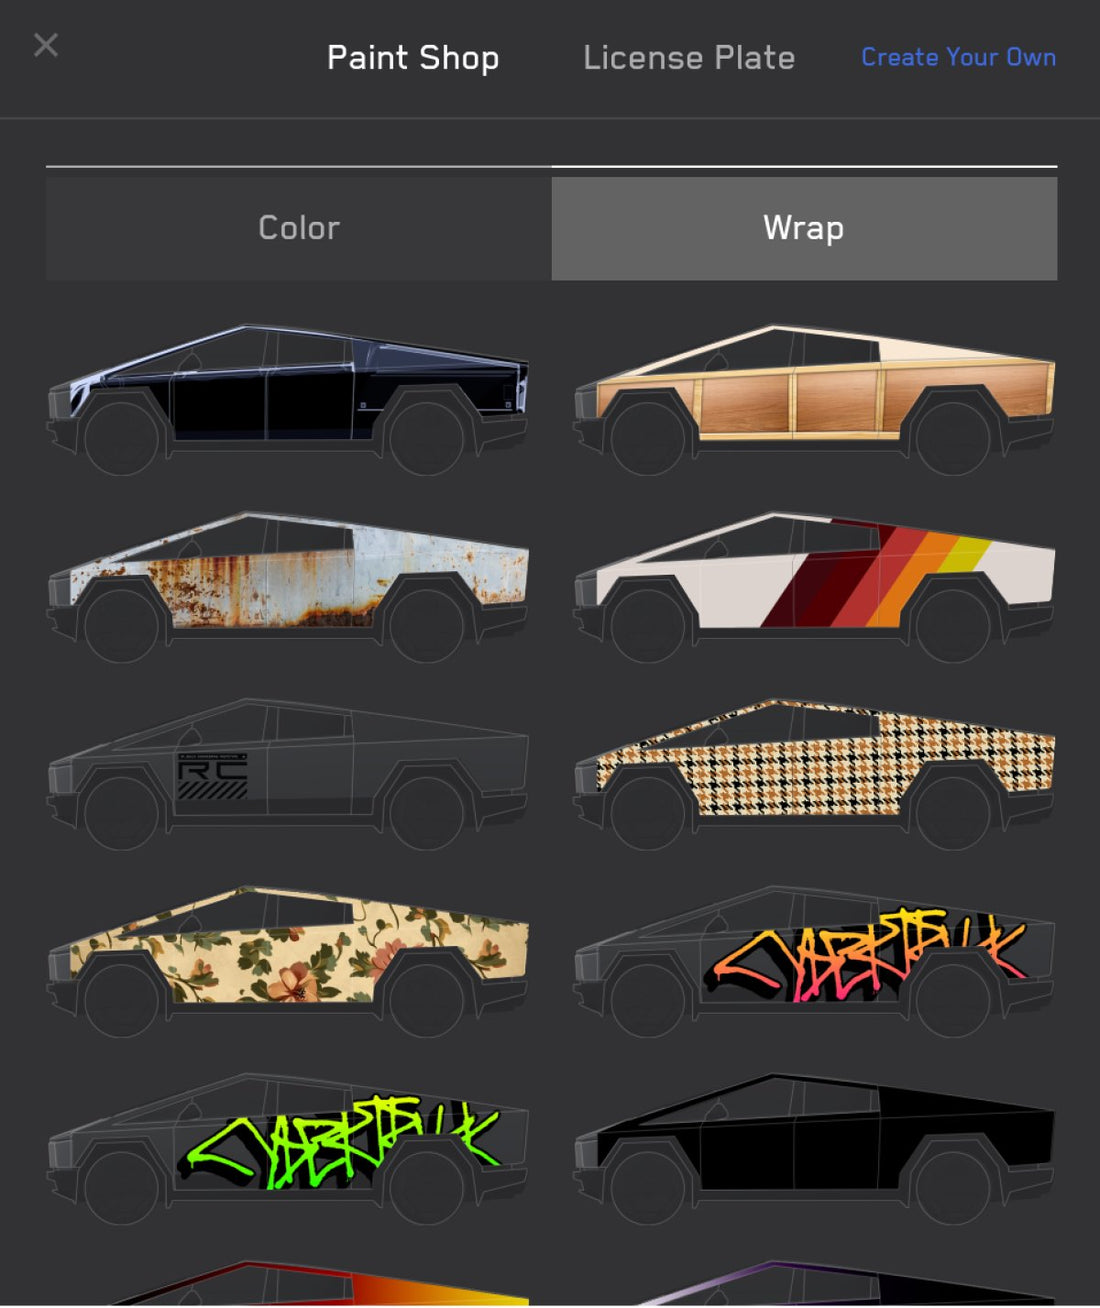
Tesla's latest 2024 Holiday Update brings a game-changing feature: the ability for vehicle owners to create and apply custom wraps to their vehicles. These wraps can be viewed in your car's on-screen visualization and through the Tesla app, giving your Tesla a unique identity. If you prefer not to design your own, Tesla offers a selection of pre-designed wraps. This feature launches first for the Cybertruck and will expand to other models soon.
How to Customize Your Cybertruck Wrap and Display It in Your Tesla Visualization
Tesla's 2024 Holiday Update introduces an exciting feature: the ability for owners to create and apply custom wraps for their vehicles. These designs can be displayed on your Tesla's visualization screen and in the Tesla app. For those who prefer not to create their own designs, Tesla offers a range of pre-made wraps to choose from. Initially exclusive to the Cybertruck, this feature will roll out to other Tesla models in the future.
Step-by-Step Guide to Creating a Custom Wrap
Creating your custom wrap is straightforward and requires no advanced software. Here’s a complete walkthrough:
1. Download the Template

Tesla has made templates available through their GitHub repository, making it easy to get started. Simply download the template file and open it in any image editing software like Adobe Photoshop, GIMP, or even simpler programs like Windows Paint. The software should support layers for better customization.
2. Set Up Your Editor

Once you’ve opened the template, create a new layer on top. Use this layer for all your edits and leave the template layer untouched. You can hide or delete the template layer later before exporting.
3. Design Your Wrap

Unleash your creativity. Use any design, logo, or graphic within the boundaries of the template. Ensure your design is clean and aligns with Tesla’s specifications. For instance, graffiti-style designs or personalized branding can add a unique flair to your Cybertruck.
4. Prepare for Export

Once your design is finalized, hide or remove the template layer. Export the file in PNG format to maintain transparency. Ensure the dimensions match the template (1024x768 pixels) and keep the file size under 1MB. Avoid special characters in the file name, and make it concise—no more than 30 characters.
5. Load Wraps onto USB
Save your PNG files into a folder named “Wraps” at the root level of a USB drive. You can store up to 10 wrap designs at a time.
6. Apply Your Custom Wrap

Insert the USB drive into your Tesla. Navigate to Toybox > Paint Shop on the vehicle screen and select "Wrap." From there, choose your design to display it on the visualization and app.
Technical Guidelines to Note
File Requirements: 1024x768 pixels, maximum file size of 1MB.
Format: Only PNG files are accepted.
Storage: Up to 10 designs can be added at once.
With these simple steps, you can showcase your creativity and give your Cybertruck a personalized touch! As Tesla expands this feature to other models, the possibilities for customization will continue to grow.


